
Spring is here everyone! Robins, rain, Daffodils, rain, Forsythia, rain, Green Grass, rain...yep, it's Spring!
I have an easy and fun memo board project for you. Since frequenting flea and antique markets, we have come across some pretty neat objects. We ask, "What is this cool thing and how could we use it in our home?"
A few months ago, I found this old Barn Vent at a local indoor flea market. The size, 30.5" wide x 36" long, and colors were perfect for a blank wall in the kitchen. Previously, I had planned to make a memo board similar to this one by using a large ceiling tile, burlap and upholstery tacks.
That idea quickly went away after finding this $10 beauty hidden under a stack of old wood panels.

The first thing I did was CLEAN the frame to remove dust and cobwebs. Remember, when working with old items, be sure to fix or remove any protruding nails or large wood splinters. This does have a few nails that were used to hold it in place, but they won't affect how we plan to use it or pose a danger.
I knew I wanted to use a natural twine to make some type of pattern between the frame. The twine will be used to hang items on the board.
 |
| Landscapers twine. |

I then laid out the piece on a padded surface (in the middle of the rug) and eyeballed where I wanted to place the tacks. The design doesn't have to be perfect, but you can measure and mark your lines if you want.
I used needle nosed pliers to hold the tacks in place and then a small hammer to pound them in about 1/3 to 1/2 way into the wood. Do not pound them all the way in! You will thread the twine through these openings to complete your design.
 |
| Use pliers to hold tack in place while you pound into the wood. |
 |
| Pound in ONLY 1/3 to 1/2 of the way. |
 |
| Tacks lined up along one side. |
Once all the tacks are in place, attach the twine by tying a knot to one of the tacks. My design will be strung in a tic-tac-toe pattern.
I started at the lower right side rail and laced the twine through the tacks horizontally. End at the top left tack, knot and cut the twine, leaving at least a 24" long tail.
I then started my vertical pattern by attaching the twine via a knot to the furthest tack on the right upper side rail. I then laced the twine, going up and down, and ending with a knot at the upper left corner (don't leave a tail here). You can choose to begin ANYWHERE, but plan out your pattern on paper before pounding in your tacks, to be sure everything works out.
 |
| Begin by tying twine to tack - this is your staring point. |
 |
| Lace through tacks, back and forth, to top left. |
 |
| Note the lines are not perfectly straight or spaced evenly. |
 |
| Do something fun with the long tail or add an ornament or other design to add some Pizzazz. |
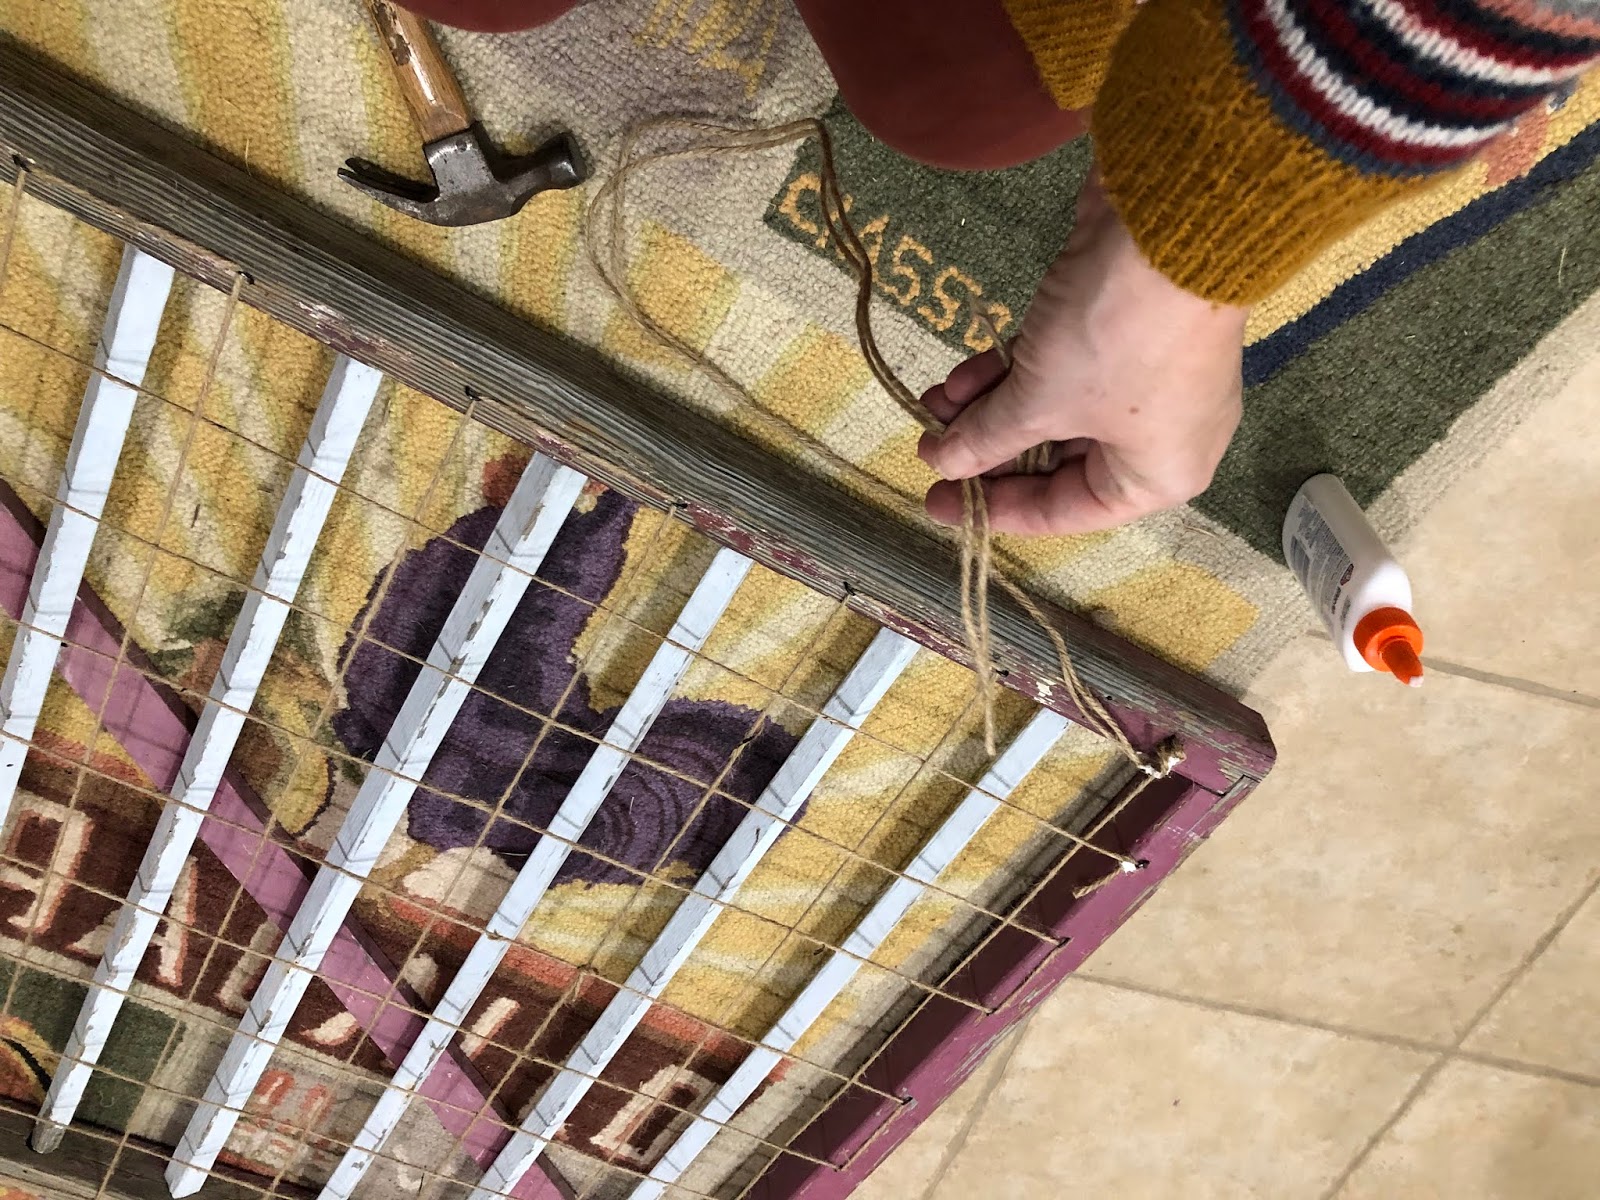
To finish it off, pound the tacks the rest of the way in and put a drop of Elmers or other glue at the center of your knots to keep them secure.
 |
| Add a drop of glue to the center of any knots to secure. |

Before and after↘


It looks great on this big, blank wall!
 |
| Total cost = about $20. |
If you are not into refurbishing, or don't have the time or desire to sift through items at a flea market, you could use a large picture frame, mirror, or wooden shape to make this easy project.
Leave photos of your project or any questions or comments below.
Also, sign up to receive new posts! Once you sign up, you will find an email in your in box asking you to verify your subscription. Thanks for reading and your continued support - IT IS VERY MUCH appreciated!
Have a great day!
Kelli
***I do not receive compensation for recommending or linking items on my blog***
No comments:
Post a Comment